Sunday, September 17, 2017

Sweet September

The summer has flown by.  It seems like just yesterday that i was planting annual seeds to fill in a bit of color among the perennials.And, now it's starting to go dormant.  Some days i feel dormant, too, but that's a story for another time!

With no school and no obligations at all, it's been a productive summer here in the garden.  I had three "big" projects planned for this year - a new shade garden with an additional place to sit and contemplate, an irrigation system for the main back beds, and refinishing the front porch decking.  Amazingly, i managed to get them all done with time to spare.  I shall get my lazy self in gear and share them with you over a few posts, but first... there is left over business from last year.

Eventually, the shrubs will form a green mass to soften the base of the deck.
In June of 2016 we lost a beautiful 'Thundercloud' plum tree that shaded our back deck.  After several weeks of grief over the loss of a truly beloved tree (it was the first one we planted at our new home - 16 years ago - and provided not only afternoon shade on our deck, but also the most gorgeous display of pink wonder every February when it bloomed), we decided not to replace it with another tree.  (Our tree man had always complained that it was way too close to the house - and apparently he was right!)  Instead, i embarked on a new perennial bed in the now sunny space left behind.

I planned a bed that would be the entrance to the back yard, but would also have color for three season and provide fragrance for the deck ... literally, i chose as many fragrant varieties as i could find.  It did fairly well in 2016, but was too new to really tell if we would like it. 

This year, a lot has changed.  The major design worked out just fine.  The gaillarda ('Grape Sensation') has bloomed since June and is still going strong.  In the early spring, there were pink Oriental lilies - all fragrant, and now there are two types of sedum in bloom.  

The grasses and shrubs have been slower to get established.  Two of the grasses did not survive the first winter and have been replaced with two more.  Part of the problem is the full sun location.  Many grasses would like a bit more shade.  The muhly grass has been slow to take hold, but is looking better this fall and actually has a few plumes - and they are pink, as planned.  (Did i remember to say that it's predominantly a pink garden?)

Seen from the "back", the rhodo (left), viburnum (center) and gardenia (right) will fill in this whole area. 
The rhododendron has also struggled, but is finally starting to look strong and has about doubled in size over the past couple of months and the gardenia suddenly produced three blooms this past week - hoorah!  In the spring i realized that i needed one more shrub to fill in a hole, so i planted a 'Sugar Shack' viburnum , which has grown like Topsy.  The shrubs all need one more year before i will be totally sure they are going to make it, but i am feeling better than i did this time last year. 

The only "major" design change i have made was to remove the lilies this fall.  Altho they were beautiful and smelled wonderful, i realized that they were not substantial looking enough for the rest of the bed.  It's full and lush, while they were each standing on one skinny stalk above everything else - just not the right look.  So, this week i replace them with pink daylilies which will give me a more substantial looking foliage to fit in better with the other plants -  they are all supposed to be fragrant - and moved the Orientals to the back part of the main garden where they will be able to easily hide their skinny legs among the taller perennials. 
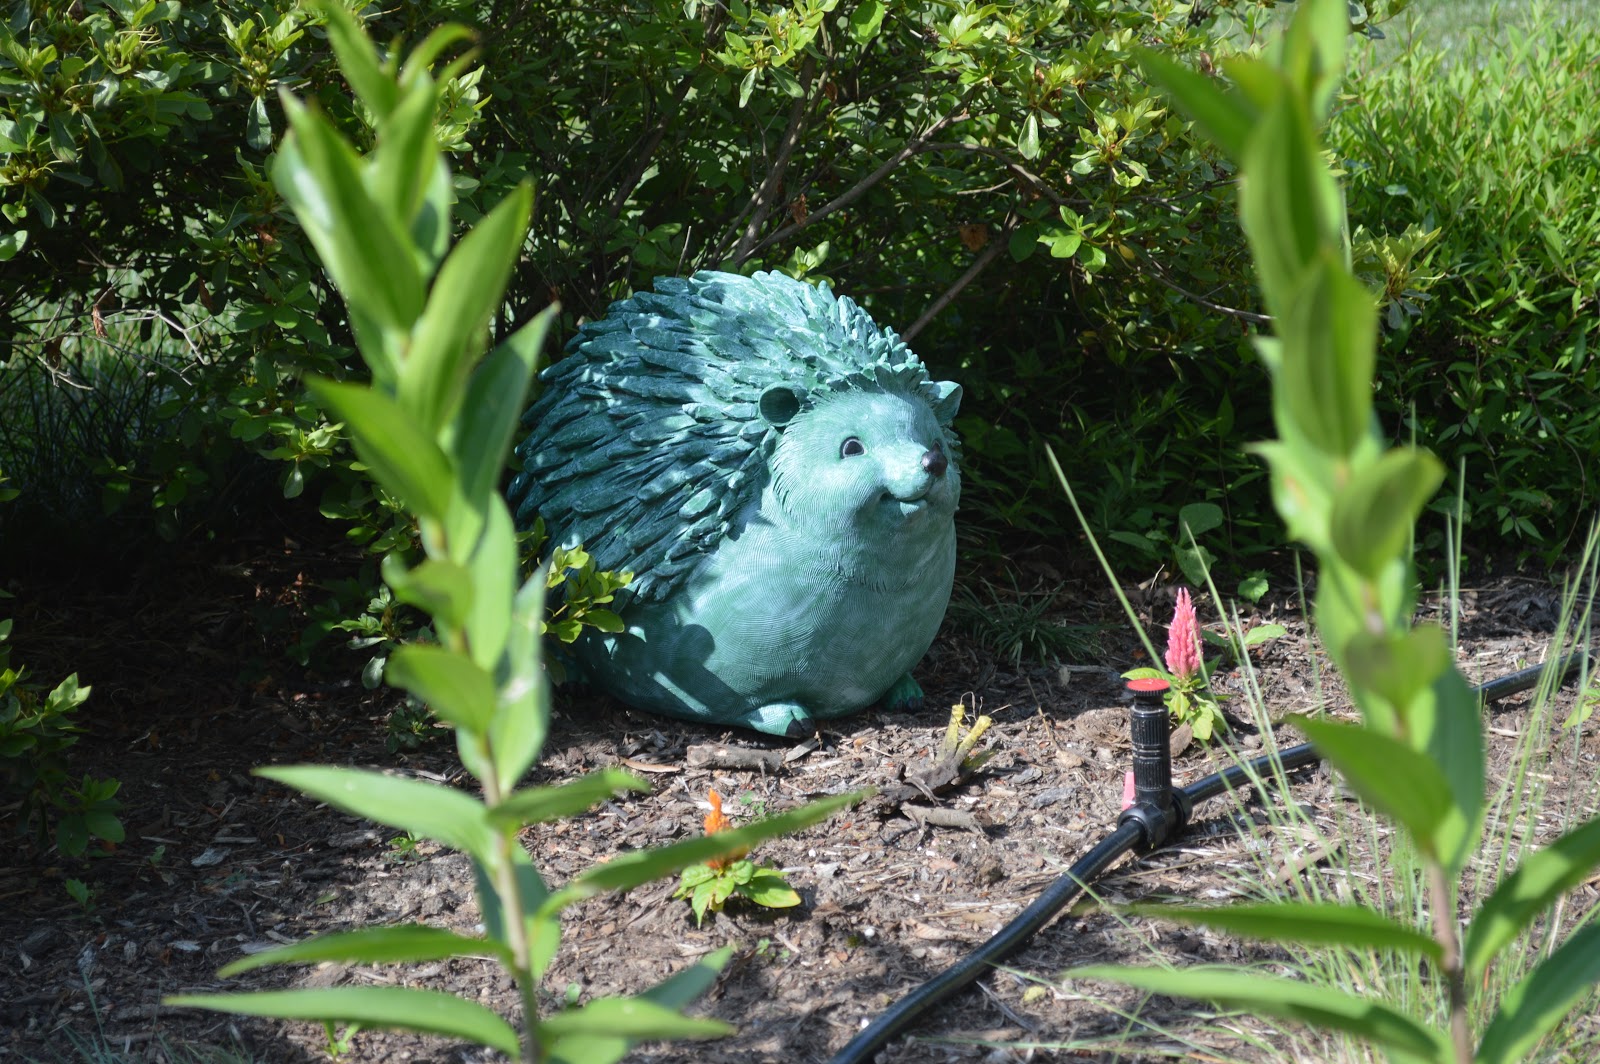
Trevor the hedgehog has always guarded this part of the garden.

All in all, it's a plan that worked!


Friday, June 23, 2017

Lazy, Crazy, Hazy days of Lilies!

If there is ever a time to just sit and marvel at the abundance of flowers in the garden it's now - as the lilies bloom.  Over the years I have tried a lot of different lilies and had varying success, but these are the days that make all that trial and error worth it.

What do you like?  Yellow .?.. check!

Darker yellow? ... also check!

Gold?  Sure!

Striped?  Easy as pie!

Red?  it gets better and better!
Yes, it looks coral to me, too.  True red is still under
construction in the lily world.
Oops - i forgot black!
This one came from Andre Viette - at his farm.
How about a calla?

or, two?
These are not supposed to be hardy here - this one came from our "old" house 17 years ago.  Still going strong, altho the color changes slightly from years to year.
And, you've already met the tree lily ...
Does it occur to anyone that for a girl who doesn't like yellow flowers, I have a lot of them?

I have not had a lot of success with some of the fancy orientals, but it may have been placement or the amount of clay in our soil.  My asiatics lasted only a couple of years - again, placement, or clay?  And, there are many I haven't tried, but you can bet that I will be scouring the catalogs for early-blooming and late-blooming varieties to add to my inventory for next year.  I've already spotted a pretty pink one in my neighbor's yard that I'm going to request.

The new pink ones I planted last fall have not yet bloomed, but soon ...

Lilies are just too pretty to not have more!


Saturday, June 17, 2017

Night of the Monsoon


It poured rain last night.  
No streaking lightening, no rolling thunder, just rain, rain, rain, and then more rain.  It was  perhaps the heaviest rain i had ever seen, except during a hurricane.  We got 4.5 inches in less than two hours.  (You will have to take my word for it, since i dumped the rain gauge without thinking to take a photo!)

The damage this morning is not too bad.  Plants in the cutting garden are flattened, but will probably stand up again when the sun gets overhead.  The grass is flattened in areas where the water ran off to the the storm drains, but that will be fine.  The worst mess is where the mulch washed out of the garden beds and into the grass.  Now we have nicely mulched grass in the yard and bare dirt in the beds.  It is clear that my assignment for the coming week is to get and spread more mulch - clearly something to be done in the early mornings this time of year.


But there is always a silver lining, and this time it is the tree lilies.  After the deluge, they decided to bloom this morning. 

I have not yet found a botanical name for them, but they are an "OA hybrid" - a cross between oriental and asiatic lilies (not to be confused with orientpets, OT hybrids between oriental and trumpet lilies).  They typically grow 4-6 feet tall and spread over time into a large clump.  Mine are about 10 years old and easily six feet tall - well over my 63 inch height - and all from only one bulb.  It took about three years for them really to get going, but for the past five or more years they have been glorious.  
They are readily available - just Google for suppliers - come in many colors now, and not terribly expensive for what you get!  Mine probably came from Breck's, and will continue to bloom for about four weeks and will then provide a lovely green background for later blooming plants. 

A nice silver lining, indeed!


Friday, May 12, 2017

And, Finally ... a (Better) Place to Sit

There's always been this nice clear space under the elm to sit in the shade.  We've tried a hammock, a a swing chair, and just putting chairs there, but nothing has ever felt right.  It's the coolest spot in the yard in the afternoons, so too nice to waste.  It was the obvious last step in the new garden plan.
An okay place to sit, but nothing special.
On the plans I drew it as a flagstone patio, but i always knew that I would not be able to do that.  There are two main considerations:  1) it is over a main section of elm roots and has a noticeable slope from right to left, and a hump in the middle; and 2) it is over a main section of elm roots and I don't want to cut off water drainage completely.  I have found roots for this tree 50 feet away, so it has a huge root system, but i still need to respect it.

My solution was to use 15-inch square concrete pavers and half-size pavers set wide apart.  That will allow water run-off from the pavers to migrate down thru the wide sand "joints".  The other advantage of using the large squares set wide apart is that I can adjust to the slopes in small increments, while a solid patio would require putting in a significantly thicker base and blocking out water from the tree. 
First raise the height of the back edge so that I could add
paver base and sand to bring up the grade.

If you hire a hardscaper to do a patio, she would not do it this way.  She would have built a retainer wall all the way around, then installed 4-6 inches of gravel and then paver base to bring the entire area to a flat, level surface, then a couple more inches of sand, and finally the pavers.  This would result in a step up to the patio of 6 - 8 inches or more.  I did not want that.  And, I did not want to risk additional damage to the tree roots. 

Next, a layer of paver base spread out thicker at the back and front
and at the left end to even up the slopes.


Then using sand to set the pavers and fill the spaces in between.
Instead, I cleared the space as much as possible, and leveled as much dirt as I could - moving it from the top of the hump down to the back edge and then installed half-bricks along the back steel edging to provide a higher back edge to support the paver base and sand.  In the front, I used the existing steel edging.   Next came the paver base, which is basically a coursely ground gravel - very fine, but heavier than sand - which will pack down to a nice flat, supportive surface.  And then the sand.  I used it to settle each paver and then in between.  Then a couple more bags of sand to fill the spaces until it looked level.  It is not actually level, but i was able to minimize the changes using sand.
:
Finally, a little sweeping, two chairs and a table to hold a couple of wine glasses.  Add some pots of coleus for color and voila!  Instant party.  It must be 5:00 somewhere!


The Nuts and Bolts:

For a space that is 7 feet wide and roughly 6 feet deep (curved on the front edge), I used:

7 15-inch square concrete pavers
8 rectangular pavers 7x15 inch
4 bags of paver base
5 bags of sand

About $75 for supplies.
I could have done it in two days is I had had all the supplies.  Instead, I made three trips to the big box store and worked a few hours over several days.